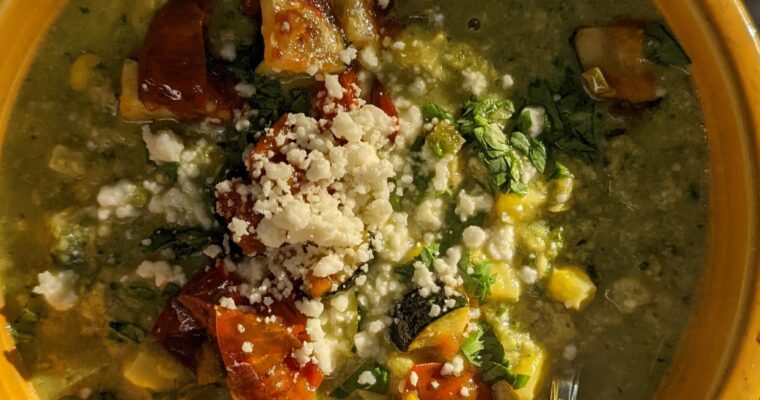
This corn chowder is a very frequent soup in our house. It is creamy and has Mexican inspired flavors. I never want another corn chowder after having this one! It is a hit with all our friends and others have added it to their frequent …
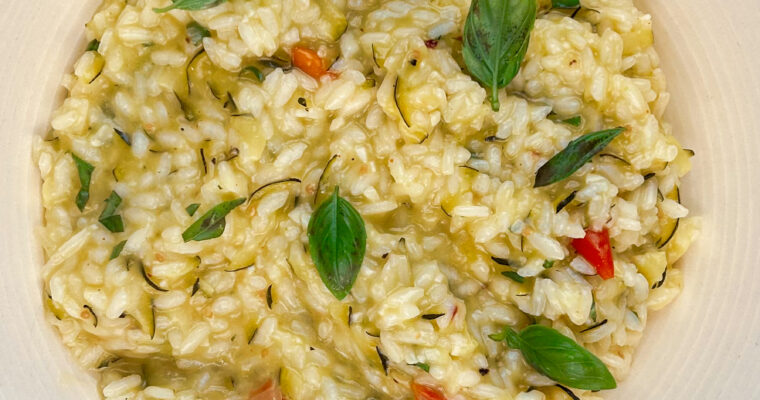
I am posting this summer risotto in January because I am slightly (largely) behind on updating this blog, but this recipe absolutely needs to be here! It is bright and tasty and will wow a crowd, all while being pretty easy to make. Risotto used …
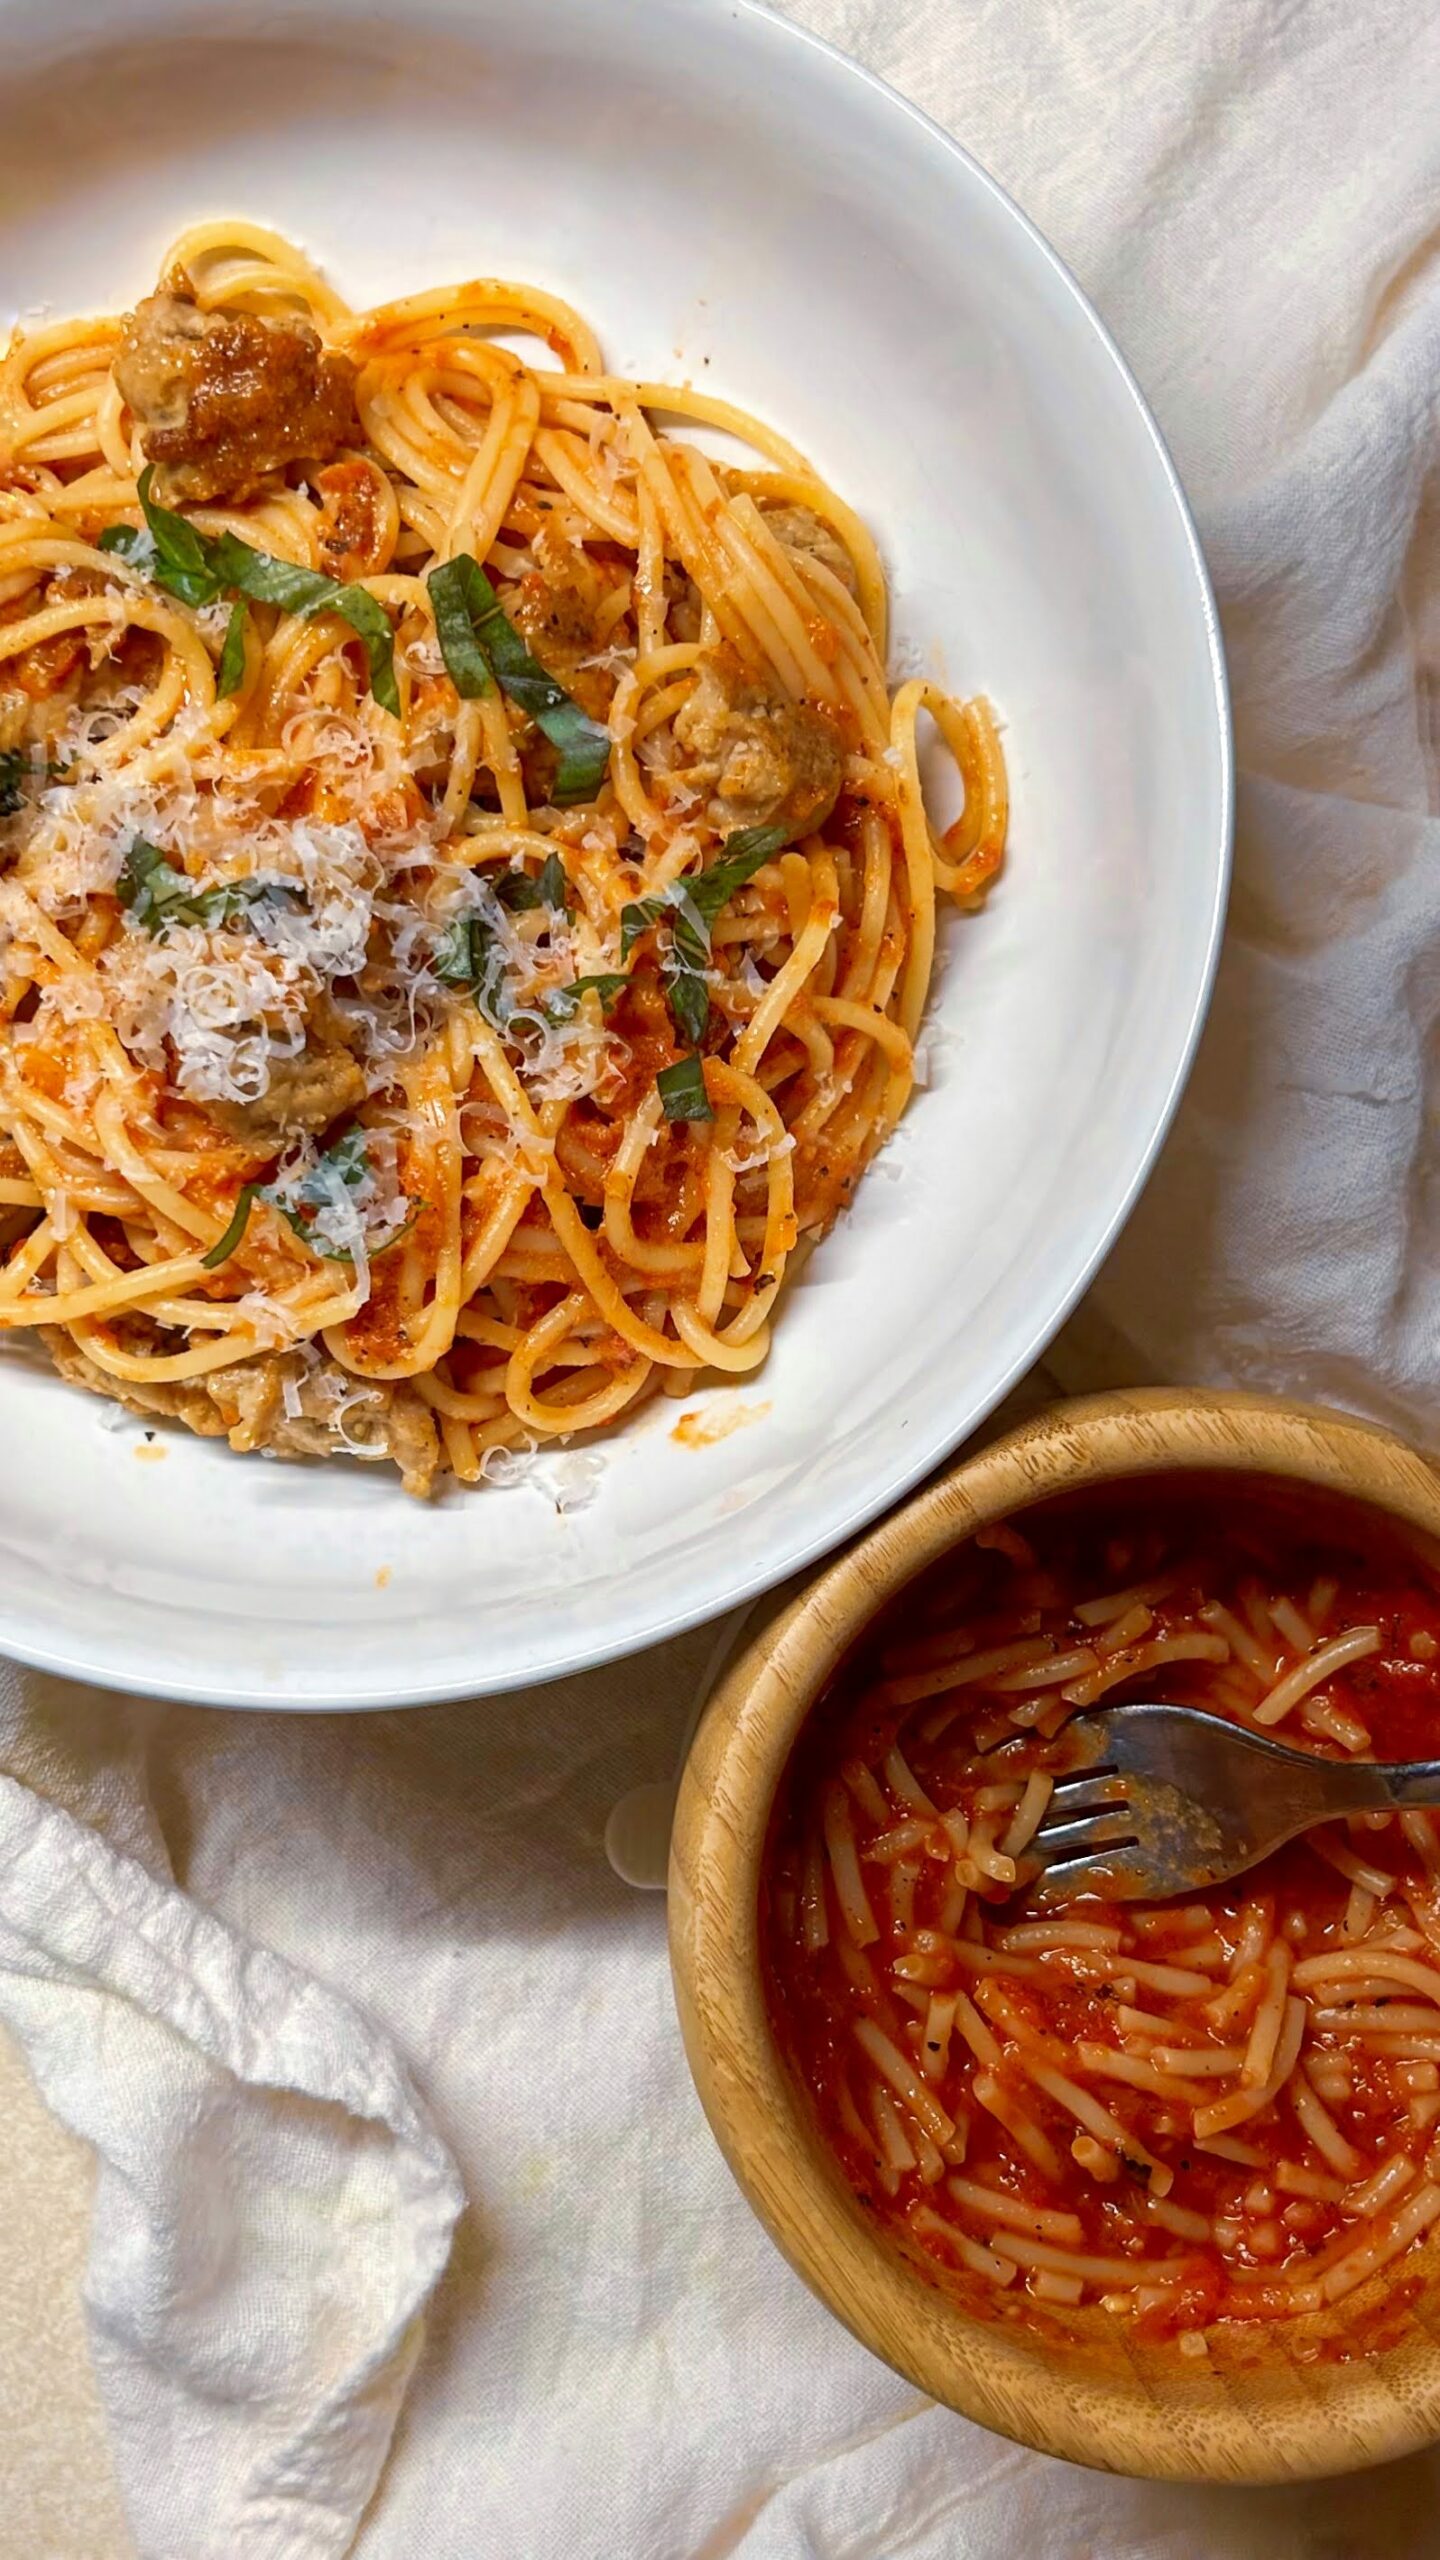
This roasted red pepper pasta can be served vegetarian or you can add Italian sausage – spicy or mild. I love this because it comes together so quick but it tastes different than the classic pasta with marinara. Sometimes you want pasta but you want something new!
Arden is one now and he LOVES this pasta sauce! It is tangy and great for his ever changing palette.
As always, I use Solid Starts to double check foods against my baby’s age for introduction.
What you’ll need for this Roasted Red Pepper Pasta
Stove top pot for the sauce
Pot for the pasta
A blender
Cutting board to dice your veggies
Ingredients Needed:
Butter
Jar of roasted red peppers, drained
Can of fire roasted tomatoes
Half a sweet onion
Garlic cloves
Half n half
Parmesan reggiano
Pasta
How to make this pasta sauce
Step 1:
Get the water boiling for your pasta and cook it according to instructions on box or bag.
Step 2:
While pasta is cooking, add a tablespoon of butter to the pan and saute the onions until soft. Add the garlic and cook another minute.
Step 3:
Pour that into a blender with the roasted red peppers and tomatoes. Blend till smooth.
Step 4:
Add the rest back to the pot on low heat and stir in the half n half, salt, red pepper flakes (omit and add to individual portions if cooking for kiddos), pepper, and a lot of freshly grated parm!
Step 5:
Once the pasta is done, add the pasta straight into the sauce and stir it all up well. Serve with the sausage, basil, and more parm and pepper flakes.
And if your kid is like mine… a bunch of balsamic vinegar!
Storage
To save for later: cool sauce dish and store in an airtight container in the fridge for up to 4 days.
While you’re waiting for the pasta, cook the optional sausage and set aside. Add a tablespoon of butter to the pan and saute the onions until soft. Add the garlic and cook another minute.
Pour that into a blender with the roasted red peppers and tomatoes. Blend till smooth.
Add the rest back to the pot on low heat and stir in the half n half
Add salt, red pepper flakes (omit if cooking for a baby as well and serve on individual plates), pepper, and a lot of freshly grated parm!
Once the pasta is done, add it straight into the sauce and stir it all up well. Serve with the sausage, basil, and more parm and pepper flakes.
One time when I went down to New Orleans to visit my parents, my dad made this epic beef and veggie soup. His was really simple – basically everything thrown in the pot and boiled/cooked down. It was brothy and tasty and I craved it …
Chuck roast chili came about on the first cold day here in Tennessee, when I wanted chili but didn’t have ground beef on hand. It uses the same cut of meat you’d use in a pot roast – but with all of the ingredients and …
Chicken Soup with Rice is the ultimate comfort food – for adults AND babies! This recipe is creamy and full of healthy foods, great for us and for littles. We also read the book Chicken Soup with Rice to Arden on a very regular basis, so this recipe is extra special to us!
We’ve all been sick this week (not covid, thankfully!) and all I wanted was a bowl of comfort soup. We weren’t in the mood for classic chicken noodle soup, so I decided to go a different direction and simultaneously pay homage to Arden’s very book. Thus, this chicken soup with rice recipe was created for all of us.
Here’s another great soup recipe from Solid Starts.
What you’ll need for Chicken Soup with Rice for the family
Large dutch oven or stove top pot
Cutting board to chop your veggies
An immersion blender or high powdered blender
A separate pot to cook your rice
Ingredients Needed:
Olive oil
Chicken thighs or breasts
Small onion, diced
Carrots, diced
Celery stalks, diced
Garlic cloves, minced
Fresh ginger, minced
All purpose flour
Chicken broth or stock
Italian seasoning
Heavy cream
Kosher salt
How to make this soup
Step 1:
Dice the veggies and mince the garlic and ginger. Set aside. Measure out the rest of the ingredients (measurements in recipe card below).
Step 2:
Heat the pot or dutch oven to medium heat and add in the olive oil.
Brown the chicken on all sides (it does not need to be cooked through) and then remove and set aside.
Step 3:
Saute the veggies and garlic until soft – about 5 minutes or so. Sprinkle the flour over the top of the vegetables and stir well.
Slowly add in the broth, stirring well to incorporate the flour and veggies. Add the chicken back in and add the Italian seasoning. Bring to a low boil and then reduce to a simmer and let the chicken cook through – about 30 minutes. Remove and shred and add back in.
Step 4:
While the chicken is cooking in the soup, cook your rice.
Step 5:
Remove baby’s portion and set aside.
Add in the salt and heavy cream and stir well. Adjust salt as needed.
Serve with rice and enjoy!
Storage
To save for later: cool soup entirely and store in an airtight container in the fridge for up to 4 days. Store rice separate from the soup.
A comforting and healthy recipe for adults and modifications for baby.
Course: Baby Food, Dinner
Keyword: Baby Food, Puree, Soup
Servings: 6people
Ingredients
1tbspolive oil
1.5poundschicken thighs or breasts1-2 pounds works
1cupsweet onion, dicedabout 1 onion
1cupcarrots, dicedabout 2-3 medium carrots
1cupcelery, dicedabout 3 stalks
2garlic cloves, minced
1tbspfresh ginger, minced
3tbspall purpose flour
4cupschicken broth or stock
1tbspitalian seasoning
1/2cupheavy cream
kosher salt to taste
1cupuncooked rice
Instructions
Dice the veggies and mince the garlic and ginger. Set aside. Measure out the rest of the ingredients (measurements in recipe card below).
Heat the pot or dutch oven to medium heat and add in the olive oil. Brown the chicken on all sides (it does not need to be cooked through) and then remove and set aside.
Saute the veggies and garlic until soft – about 5 minutes or so. Sprinkle the flour over the top of the vegetables and stir well.
Slowly add in the broth, stirring well to incorporate the flour and veggies. Add the chicken back in and add the Italian seasoning.
Bring to a low boil and then reduce to a simmer and let the chicken cook through – about 30 minutes. Remove and shred and add back in.
Remove baby's portion and set aside. Blend it with rice for a puree
Add in the salt and heavy cream to the adult version and stir well. Adjust salt as needed.
Serve with rice and hot sauce if desired and enjoy!
This spatchcock BBQ oven roasted chicken gives the flavor and vibes of a chicken that was smoked in a fancy bbq smoker all day, but it’s actually done quick and easy in your oven! The marinade is amazing. You’ll wow everyone. You can use this …
This lentil and veggie soup for babies and the family is an easy way to make dinner for everyone. It was an instant hit with Arden (6.5 months at the time) and was a hit with the adults too! This is also dairy free for …
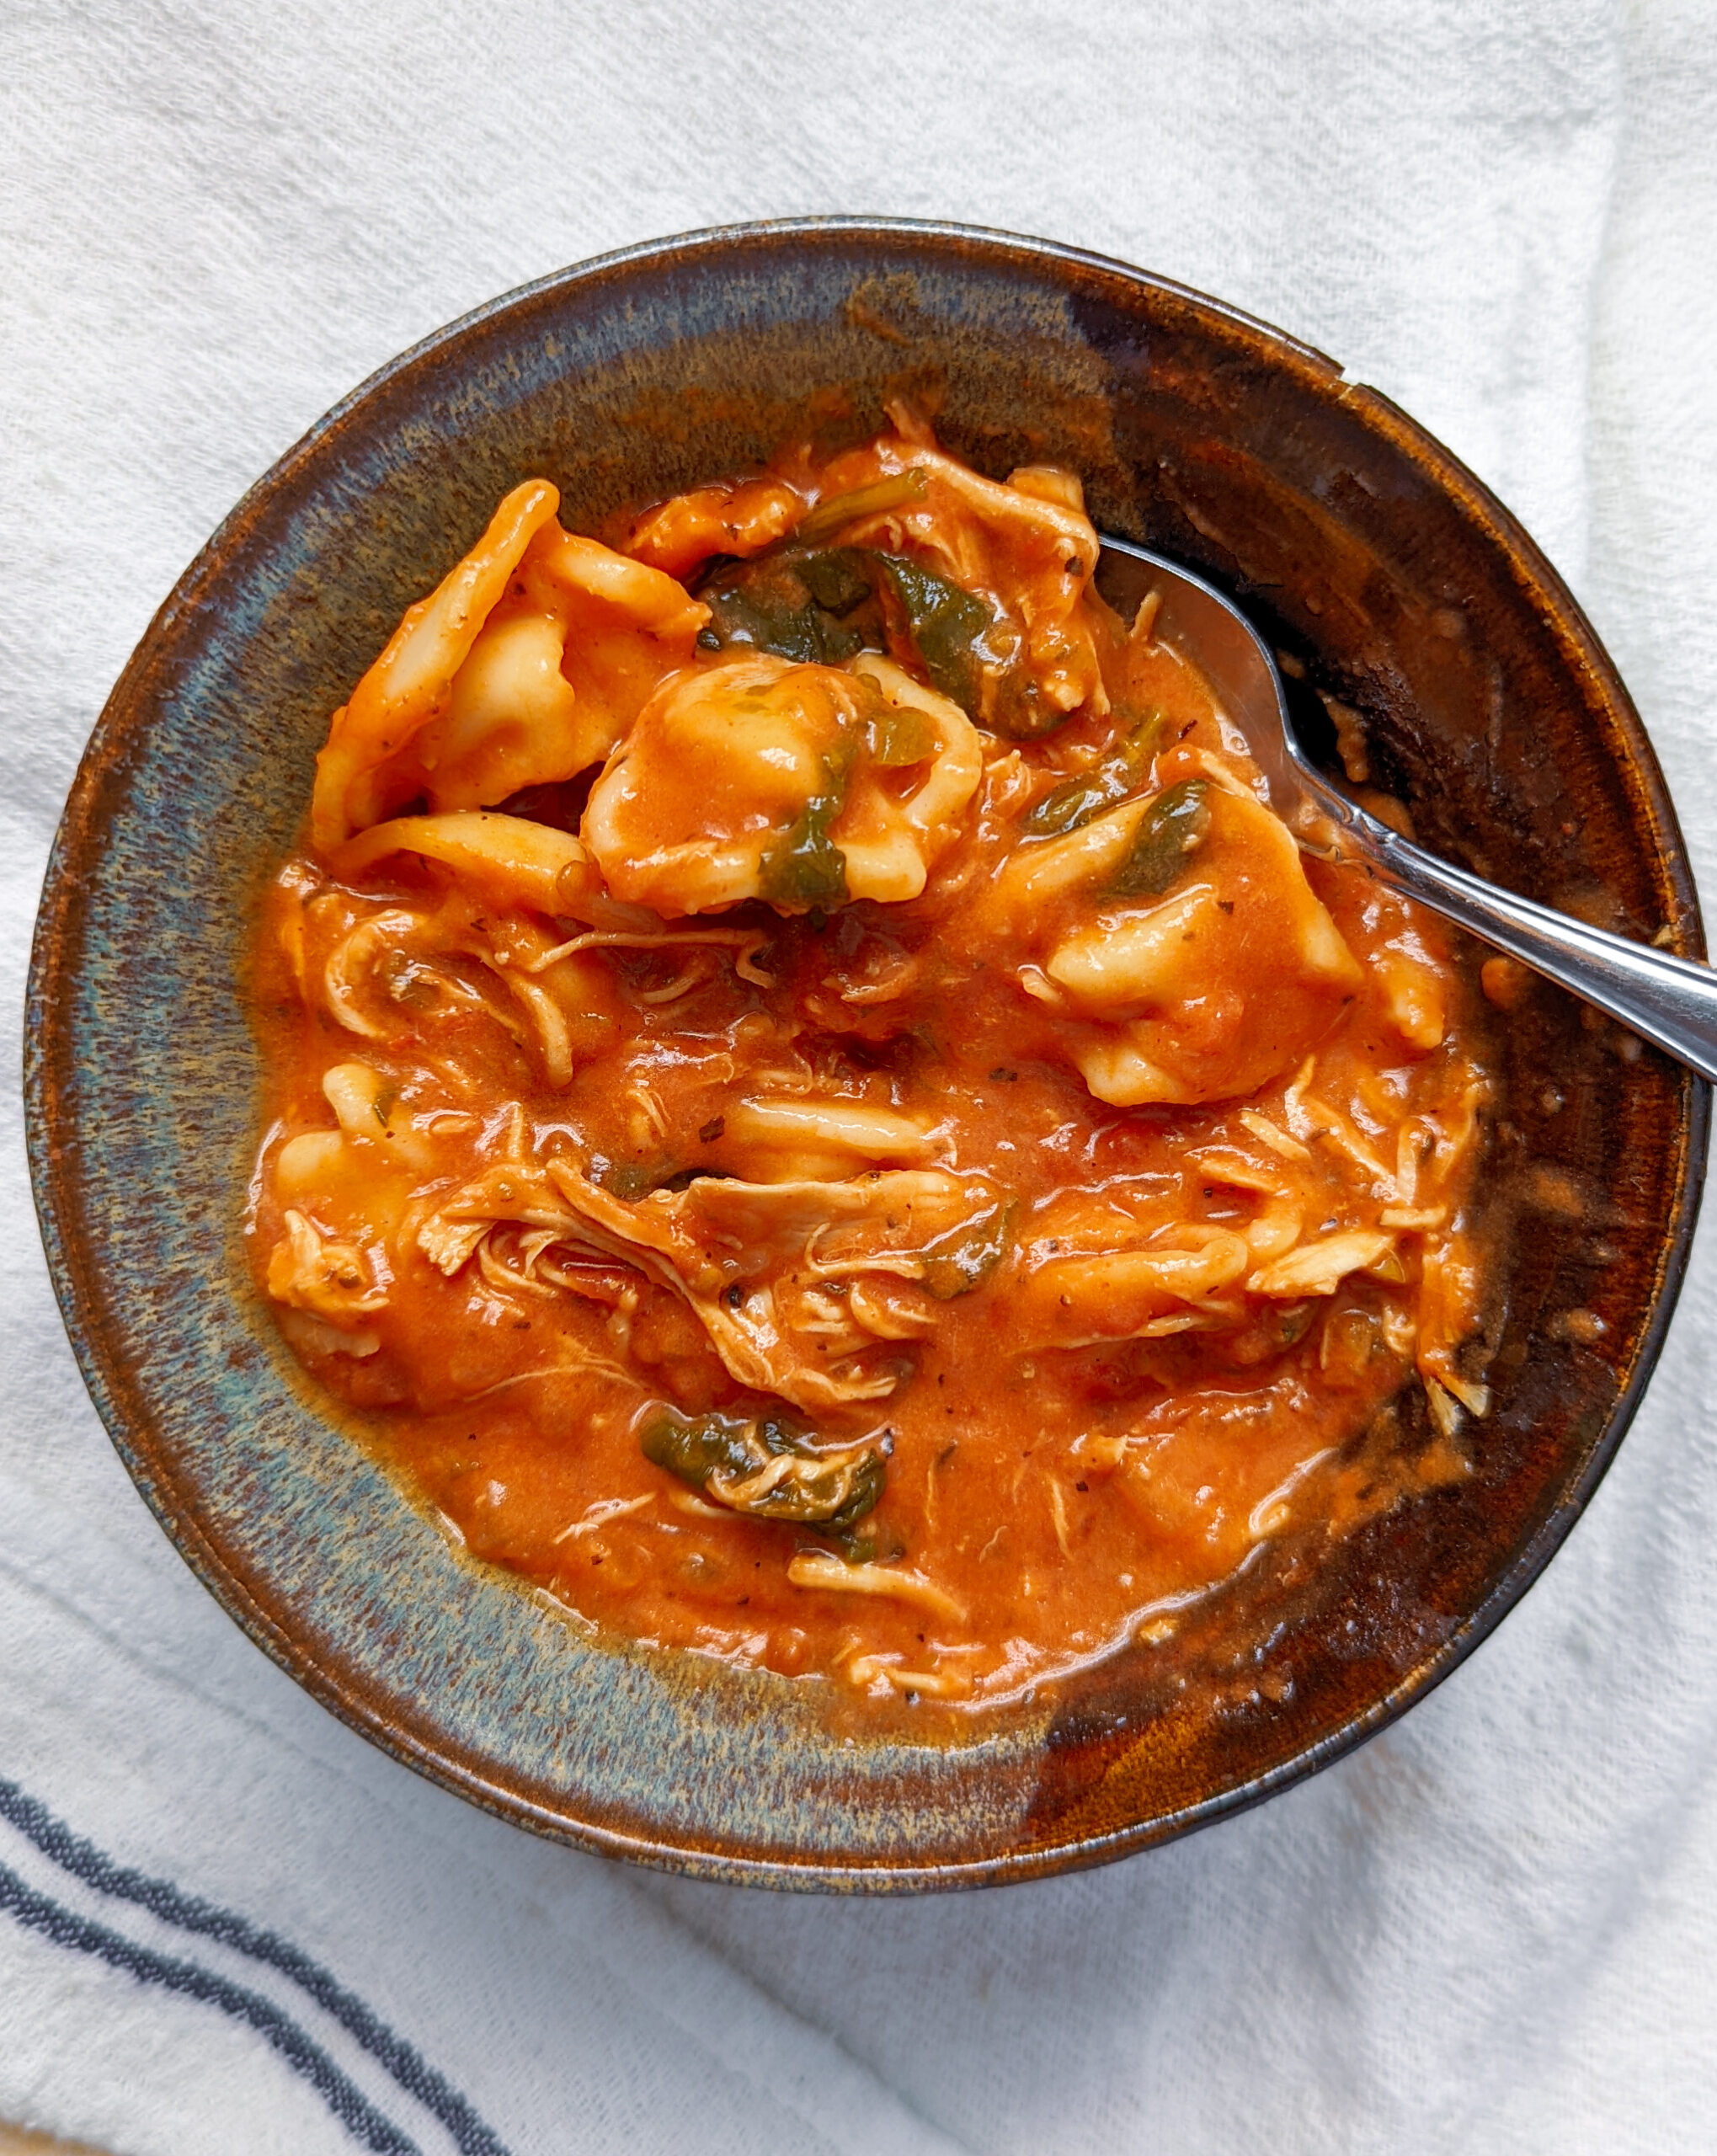
This one pot creamy chicken tortellini tomato soup is easy enough to be a weeknight dinner. I’ve been making big pots of soups and stews to eat for dinner with plenty leftovers to freeze some for when the baby gets here, and this is a perfect addition! It even has added spinach to add a little extra veggie kick to it. You could substitute the spinach with kale and you can use whatever kind of tortellini you want!
It was inspired by a recipe that is super popular on the subreddit “r/slowcooking” but this one is done on the stove rather than the crockpot, and it’s changed up just a tad. Their recipe includes microwaving a bunch of ingredients and adding them to the slow cooker which just sorta weirded me out.
What you’ll need for this One Pot Creamy Chicken Tortellini Tomato Soup
Large dutch oven or stove top pot
Cutting board to chop your veggies and shred the chicken
Immersion blender (stick/hand blender) or a normal blender
Ingredients Needed:
Olive oil
Sweet onion (omit if sensitive to alliums)
Bell pepper
Garlic (omit if sensitive to alliums)
Tomato paste
All purpose flour
28oz can San Marzano tomatoes
Chicken broth or water
Basil, thyme, oregano, salt, pepper
Chicken breast
Cheese tortellini (or whatever kind of tortellini you prefer!)
Fresh spinach
Half n half or heavy cream
Parmesan cheese (freshly grated is preferable)
How to make this one pot soup
Step 1:
Dice the veggies and mince the garlic. Measure out your flour and tomato paste. Open the tomatoes and set aside. Measure out the chicken broth or water.
Step 2:
Heat the pot or dutch oven to medium heat and add in the olive oil. Saute the veggies and garlic until soft – about 5 minutes or so. Add in the tomato paste and flour and stir well with the veggies.
Step 3:
Add in the broth and tomatoes and stir well. Add in the spices and herbs. Place the uncooked chicken in the mixture and bring to a boil. Once boiling, reduce to a low simmer and cover.
Step 4:
After about 20 minutes the chicken should be cooked through – check with a thermometer that it is 165F. Remove from the soup and shred. While chicken is removed, blend the remaining soup with an immersion/stick blender (or carefully add to a normal blender and blend until smooth). Add the shredded chicken back in.
Pour the uncooked tortellini into the soup and stir. Add in the spinach and stir. Cook another 5-10 minutes, until spinach is wilted and tortellini is cooked through (check the box to see how long it may take).
Step 5:
Stir in the half n half or heavy cream and the parmesan. Serve warm!
To save for later: cool soup entirely and store in an airtight container in the fridge for up to 4 days or in the freezer for up to 3-4 months.
Heat large pot to medium heat and add in the olive oil. Saute the bell pepper, onion, and garlic until fragrant.
Add in the tomato paste and flour and stir well. Saute a minute.
Stir in the broth, can of tomatoes, and herbs and spices. Bring mixture to a boil.
Add in the uncooked chicken and reduce heat to low simmer. Cover and allow to simmer 20 minutes, until chicken is cooked through and internal temp is 165F.
Remove the chicken and shred. While it's removed, blend the soup using an immersion/stick blender or carefully add to a normal blender and blend until smooth. Add the shredded chicken back in.
Stir in the tortellini and fresh spinach and cook another 5-10 minutes, depending how long the tortellini needs to be cooked through (check the instructions on the container).
Once tortellini is cooked and spinach is wilted, stir in the half n half and the parmesan. Serve!
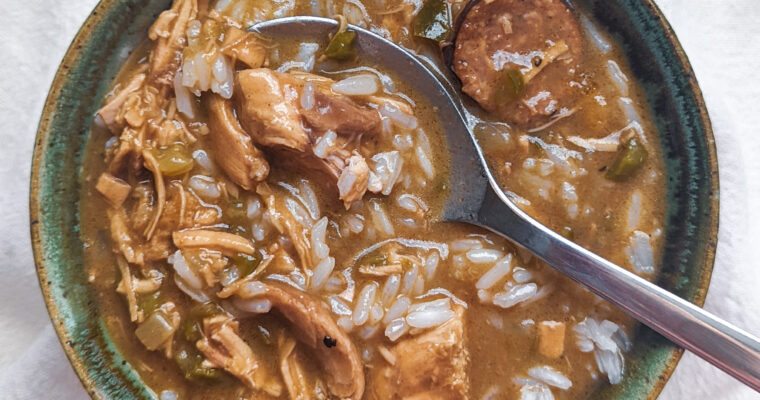
Traditional versus Low-FODMAP Being from New Orleans, I knew I needed to have a traditional chicken and sausage gumbo on my blog. If you’ve been following for a while, you’ll know I used to follow a low-FODMAP diet. Gumbo is one of my favorite things …